


AirPods
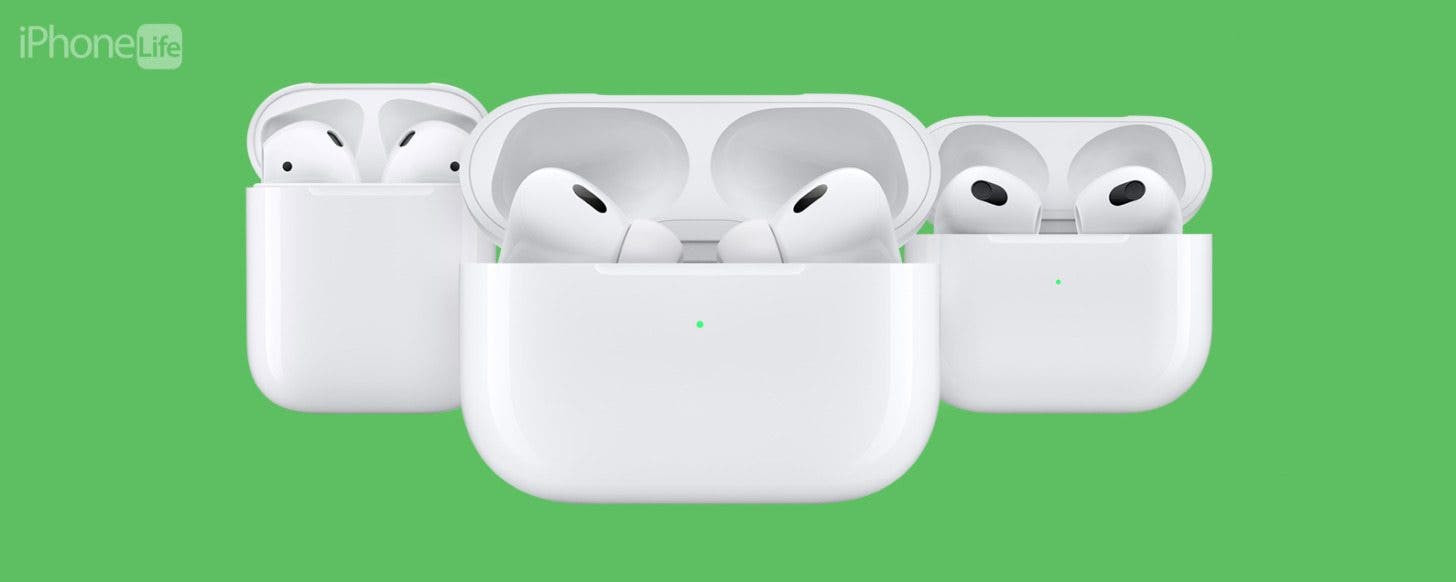
Apple’s wireless Bluetooth earbuds are popular among iPhone and Android users alike. These tiny and oh-so-convenient devices have made everything from gym workouts to phone calls simpler, while offering high-quality sound and easily adjustable settings.
How to Tell Which AirPods You Have
If you’re not sure which model or generation your AirPods are, there’s an easy way to tell! If you’ve previously paired your AirPods with your iPad or iPhone, here’s the best way to identify them:
- Open the Settings app and select Bluetooth.
![]()
- Find your AirPods in your Bluetooth devices list.
- Tap the blue information icon next to the AirPods. The icon looks like a blue circle with the letter "i" inside it.
![]()
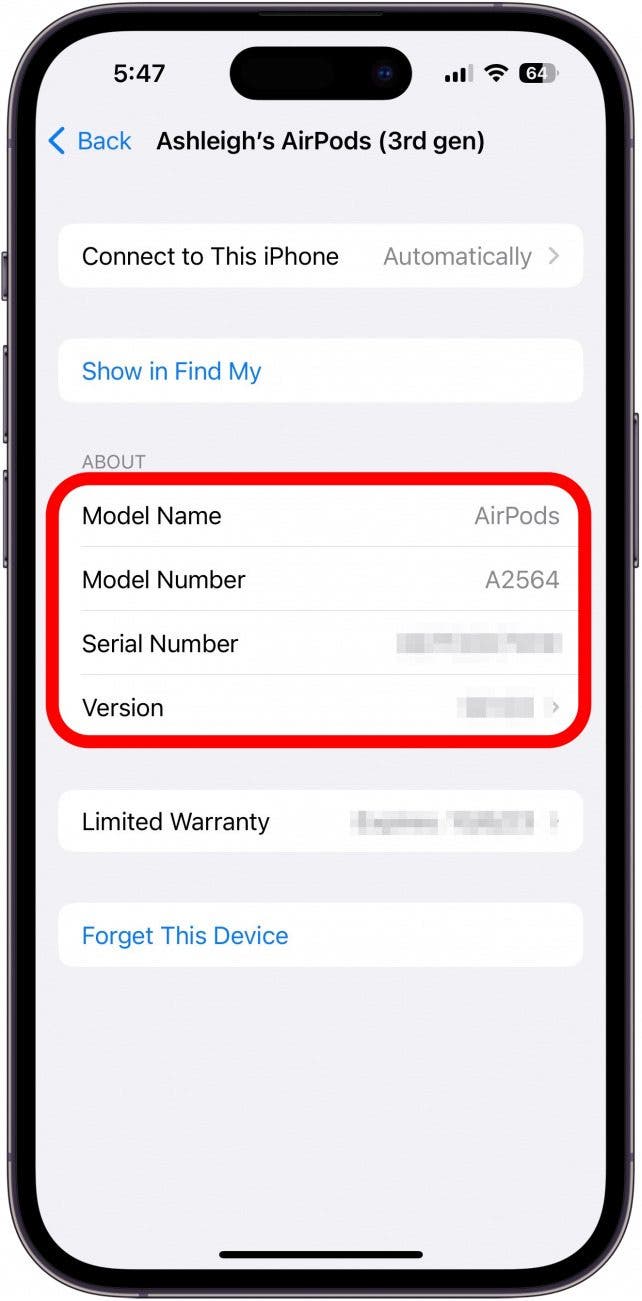
- You'll see Model Name, Model Number, Serial Number, and Version.
![]()
Note: If you’re currently using your AirPods when you follow these steps, you may need to scroll down in order to view your device information.
For more information, here’s how to identify your AirPods’ generation, model, and serial number.
Pairing AirPods to Your Other Devices
One of our favorite things about AirPods is how simple it is to connect them.
Pair AirPods to Your iPhone or iPad
Let’s start by learning how to connect your AirPods to an iPhone. First, make sure Bluetooth is enabled on your iPhone. To check this, open the Settings app, tap Bluetooth, and make sure the Bluetooth toggle is enabled (the toggle will be green and to the right).
- Then, unlock your iPhone.
- Open your AirPods or AirPods Pro case near your iPhone.
- After a few seconds, a popup will appear on your display. Tap Temporarily Share Audio and then follow any onscreen instructions.
![Tap Temporarily Share Audio.]()
Your AirPods are now paired to your device. So easy! This process works exactly the same on an iPad. Your AirPods will be linked to your iCloud account, so once you’ve paired them to one of your devices, any other devices logged into the same iCloud will immediately work with them.
Troubleshooting Tip: If your AirPods aren’t connecting to your iPhone, make sure your iPhone is updated to the latest software. To check this, open the Settings app, tap General, and tap Software Update. If there are available software updates, tap Download and Install.
Connecting AirPods to the Apple Watch
As long as you have watchOS 3 or later installed on your Apple Watch, you’ll be able to connect your AirPods to your Apple Watch. This is incredibly convenient if you want to go for a run and listen to music or podcasts without having to bring your iPhone along.
Note: If your Apple Watch is running the most recent watchOS and you’ve already paired your AirPods to another device logged into iCloud with the same Apple ID, your AirPods will already be connected to your watch.
If you don’t have an iPhone or another way to pair your AirPods to your Apple ID, you can manually pair your AirPods to the Apple Watch.
Connecting AirPods to a Mac
AirPods can also be paired with your Mac. If you’ve already paired them with your iPhone or iPad and you’re logged into iCloud with the same Apple ID, your AirPods or AirPods Pro will be ready to use with your Mac.
If you don’t see your AirPods in the Bluetooth menu, you’ll need to pair your AirPods to your Mac.
- Click the Apple icon in the top left and select System Settings.
![Click the Apple menu and open System Settings.]()
- Select Bluetooth and make sure that the Bluetooth toggle is enabled. If it’s not, turn it on.
![Tap the Bluetooth toggle.]()
- Place both your AirPods in the charging case and open the lid.
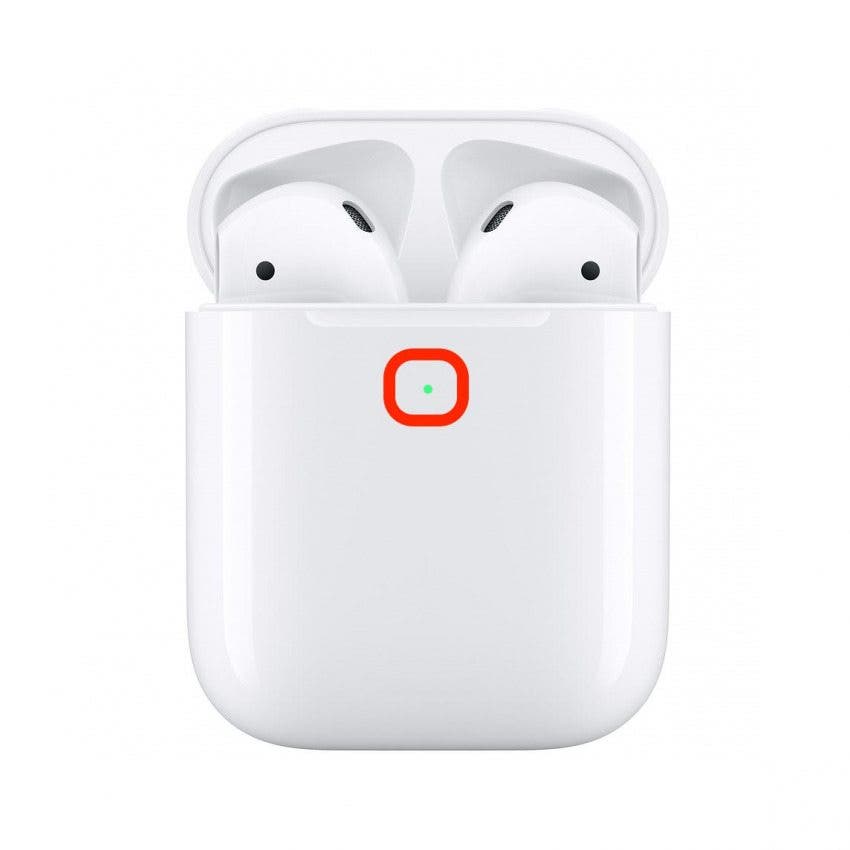
- Press and hold the setup button on the back of the case until the status light flashes white.
- Select your AirPods from the Devices list, right-click, and click Connect.
![Tap Connect to pair AirPods to Mac.]()
Now your AirPods are paired with your Mac!
Connecting AirPods to a Non-Apple Device
If you want to pair your AirPods with a non-Apple device:
- Place both of your AirPods in their charging case and open the lid.
- Press and hold the setup button on the back of the case until the status light flashes white.
![Press the button on the back to pair AirPods.]()
- Then, connect them in the Bluetooth settings menu of whatever device you’re wanting to pair them to.
![When the AirPods status button flashes white, you're in pairing mode.]()
Note: Every non-Apple device has its own interface menu and settings, so this process will vary slightly depending on what you’re pairing them with.
Pair Multiple Pairs of AirPods with One iPhone
Have you ever wanted to watch a video and listen to music with someone but weren’t excited about sharing a pair of AirPods? Instead, you can pair multiple Bluetooth headphones with the same device and listen together.
However, there are some software and model requirements to be able to do this:
- Both you and your friend will need to own AirPods or PowerBeats Pro headphones.
- The device you’re connecting to will need to be an iPhone 8 or later, an iPad (fifth-generation or later), iPad Pro, iPad Air (third-generation or later), iPad mini (fifth-generation or later), or iPod touch (seventh-generation or later).
- Your iPhone or iPad will need to be running iOS 13 or iPadOS 13 or later.
The pairing process is exactly the same as when you first paired your AirPods, and it’s very simple. To pair another pair of AirPods for synchronized listening:
- Bring the second pair close to the iPhone you want to pair with.
- Put the AirPods in the charging case and open the lid.
- Tap Connect. Your phone may prompt you to press the button on the charging case.
![Tap Connect to pair your AirPods with iPhone or iPad.]()
- Now, you’ve got the two pairs of AirPods connected to the same device. To listen to audio, you’ll open whatever app you want to listen from and tap the AirPlay icon.
- Select both sets of AirPods. Now you’re listening together!
Pro Tip: You can separately control the volume for each pair of AirPods. To adjust the volume: Open the Control Center by swiping down from the top right of your display (on older devices, you access this menu by swiping up from the bottom). Tap the AirPlay icon in the top right widget. Then you can adjust the volume of each set of AirPods.
How to Name Your AirPods
Naming your AirPods is a fun way to personalize these sleek little devices and help you easily find them in a list of your other Bluetooth devices. You need your AirPods to be connected to your iPhone or iPad in order to name them, so if they’re not currently connected, bring your AirPods close to your iPhone. Then, put them in the charging case and open the lid.
- On your iPhone, open the Settings app and tap Bluetooth.
- Then tap the blue information icon next to your AirPods.
![Tap the blue info icon.]()
- At the top of this menu, tap Name and then type a new name for your AirPods.
![Tap Name to name your AirPods.]()
- Tap Done, then tap Back to return to the settings menu.
![Tap Done to save your AirPods new name.]()
Now when you place your AirPods next to any unlocked Apple device and open the lid, you’ll see the name of your AirPods appear on the screen, along with the battery levels of your charging case and AirPods. This makes it easy to quickly check if you’re stuffing the right pair of AirPods in your pocket as you head out the door!
Customizing Tap Controls on AirPods (1st & 2nd Generation)
The first and second-generation AirPods have sensors in the middle of each bud that can be customized to control a variety of functions independently when double-tapped. To customize each AirPod’s controls, first put your AirPods in the charging case and open the lid near your connected device.
- On your iPhone or iPad, open the Settings app and tap Bluetooth.
![Tap Bluetooth after you open the Settings app.]()
- In your list of Bluetooth devices, tap the “i” icon next to your AirPods.
![Tap the blue info icon.]()
- Under Double-Tap on AirPod, you can customize what the left and right AirPod do when double-tapped.
![]()
You can program them to play or pause, skip to the next track or previous track, or invoke Siri. If you don’t like this feature, you can even disable the double-tap function.
Controlling Audio with Your AirPods Pro & Third-Generation AirPods
The first and second-generation AirPods Pro and third-generation AirPods have force sensors that respond to a squeeze instead of a tap. Here are the default controls you can perform with the force sensor:
- Squeeze once to play and pause music.
- Squeeze twice to skip forward on a track.
- Squeeze three times to skip back on a track.
- Swipe up or down on the Touch control of either AirPod to adjust the volume.
- Squeeze and hold to switch between Active Noise Cancellation and Transparency mode. (This only applies to the AirPods Pro.)
Customizing the Controls on Your AirPods Pro
The AirPods Pro have active noise cancellation, which uses a microphone to listen for outside sounds. It then isolates the external sounds and cancels them out. This is a great feature because it lets you listen at a lower volume, which protects your hearing and allows for a cleaner listening experience.
By default, active noise cancellation will be enabled on AirPods Pro. You can also switch over to Transparency mode, which uses the mics on the AirPods to allow outside sound to reach your ears. This allows you to carry on a conversation without having to take your AirPods out. Alternatively, you can turn both of these modes off, so your AirPods Pro will work just like normal earbuds.
To set up Noise Control:
- Put your AirPods Pro in the charging case and open it near your device.
- On your iPhone, open the Settings app and tap Bluetooth.
- Tap the “i” icon next to your AirPods.
- Under Noise Control, you can manually set your preferred mode.
![Tap to set Transparency Mode.]()
To change your AirPods Pro audio settings from the Control Center:
- Swipe down from the top right of your iPhone display to open the Control Center. (For older devices with a Home button, swipe up from the bottom of the screen).
- Press and hold on the volume slider.
![]()
- At the bottom of this screen, there are controls specific to the AirPods Pro. Tap Noise Control to manually select Noise Cancellation, Transparency mode, or turn both off.
![Tap to set Transparency Mode.]()
Enable “Hey Siri” for Your AirPods or AirPods Pro
The second-generation and third-generation AirPods and AirPods Pro work well with Siri, which unlocks a ton of functionality for hands-free control. If you enable “Hey Siri,” you can invoke Siri with just your voice. This is really convenient in situations where you can’t (or don’t want to) pull out your phone and navigate through menus.
Note: You won’t be able to use “Hey Siri” with first-generation AirPods.
Here’s how to enable “Hey Siri”, if you haven’t already:
- On your iPhone or iPad, open the Settings app and tap Siri & Search.
![]()
- Toggle on Listen for “Hey Siri”.
![]()
- Follow the on-screen instructions for setting up “Hey Siri.”
- You’ll want to make sure Allow Siri When Locked is also toggled on.
![]()
Now, anytime you’re using your second or third-generation AirPods, or your first or second-generation AirPods Pro, you can say, “Hey Siri, call Brent,” or “Hey Siri, add oat milk to the grocery list,” and your device will follow your command.
Making Your AirPods Battery Last Longer
Finally, there are a few things you should know to help improve your AirPods battery life:
- Always store your AirPods in the charging case when you’re not using them.
- This will not only protect the speakers and microphones but will ensure that they’re always charged up when you need them.
- Don’t fidget with the case!
- It’s tempting to fiddle with the magnetic snap-and-shut lid on the AirPods case, but excessively opening and closing the case can reduce the battery's lifespan.
- Avoid direct sunlight and extreme heat or cold for extended periods of time.
- This can cause long-term damage to the battery.


