


If you’re here, you’re already ahead of the game! Apple is set to officially release iOS 17 in mid-September, and the beta software version has already been released for Apple enthusiasts (like us) who can’t wait to test the new features and enhanced capabilities.
For those new to the iPhone, let’s back up and start at the beginning: iOS is Apple’s iPhone software, and the number that follows it represents the software version. Each September, Apple rolls out its large annual updates. For example, Apple released iOS 16 in September 2022, and iOS 17 is expected to officially release in September 2023. While Apple releases more incremental feature updates and bug fixes throughout the year, the September software update tends to have far more redesigned and newly added features.
Whether you want to install and test the iOS 17 beta software prior to the official release, or are looking to get a jump-start and read about the upcoming updates, we’ll show you how to safely upgrade your software and make the most of these iOS 17 features and upgrades.
iOS 17 is compatible with the iPhone XS, XR, SE (2nd generation or later), as well as all iPhone 11 and later models. If you’d like to view a complete list of compatible devices, check out our article covering iOS 17 compatibility.
Not sure what iPhone model you have? No worries! Check the back of your iPhone, or open the Settings app, tap General, then tap About. You’ll see your iPhone model listed next to Model Name.
To ensure your update runs smoothly, let's go over this important checklist before you update your software:
That’s it! You’re ready to update your iPhone to iOS 17.
Important Note: If you want to download a pre-release version of iOS 17, this is a different process than the steps listed below, which is for the official public release of iOS 17. Here’s how to enroll in the Apple Beta program and install the iOS 17 Beta.
Once you’ve completed the pre-update checklist above, follow these steps to update your software:
Pro Tip: Did you know you can enable automatic iPhone software updates? Not only is this incredibly convenient, it also helps to ensure you have all the latest security updates and bug fixes.
Contacts Posters allow you to create a custom contact card for yourself to control how you appear to other iPhone users. You’ll be prompted to set this when you open the Phone or Contacts app for the first time after updating to iOS 17. However, if you didn’t get the prompt, or if you dismissed it without setting up your Contact Poster, here’s how to get started:
Pro Tip: Just like with your Lock Screen, you can create and save multiple contact poster options.
Stickers are a fun way to communicate, and with iOS 17, you can easily make your very own stickers out of photos. The options are nearly limitless–you can turn people, animals, insects, plants, and other objects into stickers. All you need to do is tap and hold on the subject of your photo until you see a menu pop up. Getting this right can take a few tries, especially if you’re dealing with a Live Photo. Here’s how to create custom stickers using your photos:
Pro Tip: Turning Live Photos into moving stickers that look like GIFs is so much fun! The best Live Photo stickers are funny or unexpected actions. Sometimes a bad photo of someone tripping turns out to be the best moving sticker!
You can use a wide variety of photos to create stickers, as long as the image has a clear subject that can be lifted off the background. You can access and use stickers anywhere you can use emojis. This means you can add them to text messages, emails, and Notes, and you can add them via Markup to documents, screenshots, and photos. Plus, any third-party app that allows you to access emojis.
In previous versions of iOS, widgets acted more like shortcuts to apps. For example, you could tap a podcast episode in the Podcasts widget, and it would open that episode in the Podcasts app. In iOS 17, you can now interact with some widgets right from your Home or Lock Screen without opening the corresponding app. Some of the most useful widgets for this new feature are the Music, Podcasts, and Home widgets. Here’s how to add them to your Home Screen:
You can also add these widgets to Today View and interact with them from your Lock Screen. While the selection of interactive widgets is small, other apps are sure to start taking advantage of this new feature soon.
These feature upgrades might seem small, but they pack a wallop in terms of enhancing your user experience and simplifying daily life.
Ever get a call from someone or an unknown number but don’t want to pick it up? Live Voicemail is a new feature that takes the iPhone back to the days of answering machines. Now, whenever you receive a call, you’ll see a live transcription of the voicemail message being left by the caller. This can help you determine who is calling and why, allowing you to decide whether or not you’ll answer the phone. You can check out our article to learn more about how to use Live Voicemail.
Live Voicemail not working? This feature should be enabled by default, but if it isn’t working, open the Settings app. Tap Phone. Scroll down and tap Live Voicemail. Confirm that the Live Voicemail toggle is enabled.
Pro Tip: Whenever you’re receiving a Live Voicemail, you can tap the Message icon to send a quick text to the caller or tap the green phone icon to accept the call mid-voicemail.
With each software update, the Apple Maps app has continued to improve. With the introduction of offline maps, the iOS 17 update is no exception. If you don’t have strong cellular reception in a particular location or are traveling abroad and need a map of the area, you can download the map and still get directions even while offline. Gone are the days of meandering through unknown back roads, hoping you’ll get cell reception soon.
You should be prompted to download an offline map of your surrounding area when you open the Maps app, but if not, here’s how to download offline maps:
Bonus Feature: For those with a CarPlay-compatible electric vehicle, Apple Maps now also has the option to view real-time charging availability. When driving an EV, you will be able to choose your preferred charging network and see which chargers are compatible with your vehicle.
With the new FaceTime updates, you can leave video messages like a voicemail and use hand gestures to create on-screen effects.
If you call someone over FaceTime and they don’t answer, you can leave a video message that the other person can view later. Here’s how to leave a video message in FaceTime:
Admittedly, this doesn’t qualify as a practical app update. However, if you love the iMessage special effects like fireworks and balloons like I do, this next feature might interest you. On the iPhone 12 and newer, FaceTime now has the same reactions as iMessage, and you can initiate them with your hands. Here’s a list of gestures you can use in FaceTime, and you can also check out our article to see an example of each FaceTime hand gesture and special effect.
Note: FaceTime gestures aren’t enabled by default. To turn on FaceTime gestures, open the Control Center by swiping down from the upper right edge of your screen. Tap Video Effects, then tap Reactions. Now you’re ready to have fun with the new FaceTime special effects!
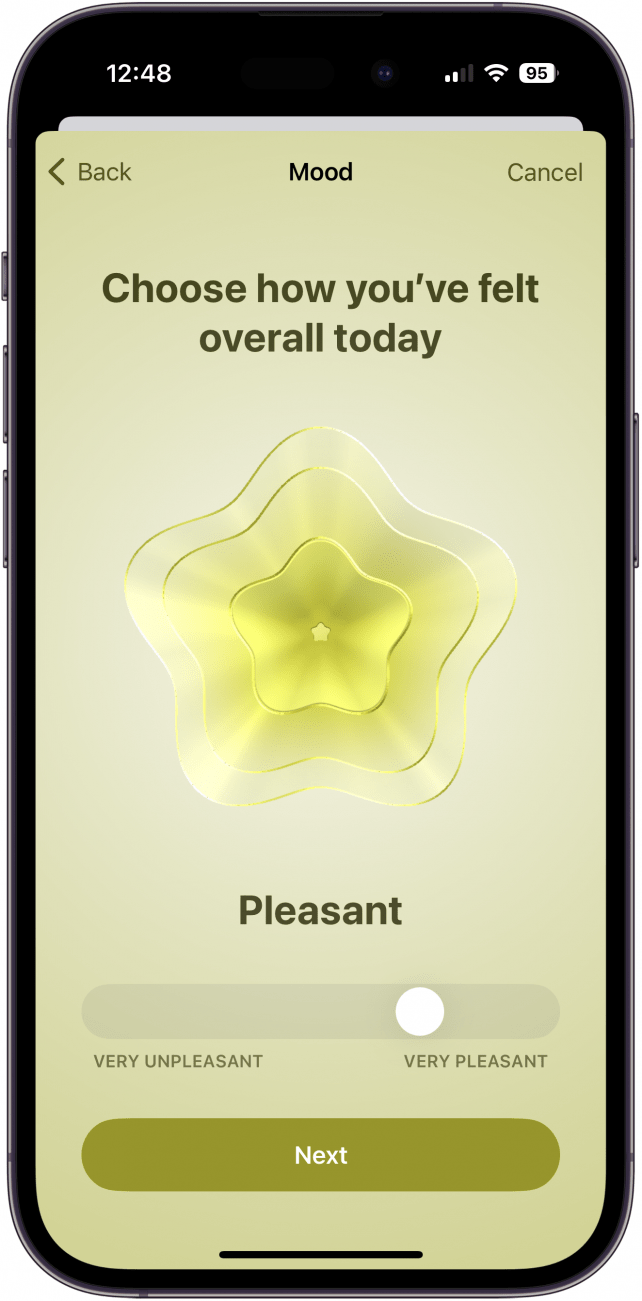
The Health app is the hub where you can find all your health data, and iOS 17 introduced a new Health Category called Mental Wellbeing. Here, you can find all sorts of data that contribute to having a healthy mind, such as sleep, exercise minutes, mindful minutes, state of mind, anxiety risk, depression risk, state of mind, and time in daylight.
With the new state of mind feature, you can log your emotions and moods directly in the Health app. The prompts are set up to quickly evaluate how you feel and why you feel that way. This creates an insightful record where you can look back and see what factors contribute to a positive state of mind (and what didn’t). If you want to start logging your emotions and moods, check out our article covering how to use the state of mind feature to log your mood and emotions.
Feature Highlight: The Mental Wellbeing section also contains articles with simple, practical tips to help improve your mental wellbeing with sleep, daylight, and more!
I’m all about the new iMessage safety feature called Check In! This handy tool allows you to automatically notify friends or family when you safely reach your destination. Check In is especially useful when you’re parting ways with family or friends late at night and want to let them know you’ve arrived home okay.
At the same time, if you’re unexpectedly delayed, your iPhone can tell if you’re not making progress and will ask you if you need more time. If you fail to respond within 15 minutes, your friend or family member will be notified that you haven’t reached your destination. Check out our article to learn how to use the Messages Check In feature and let your loved ones know when you get home safely.
If you and your family share certain accounts, like streaming services, sharing passwords is probably commonplace in your household. Thankfully, iOS 17 adds the option to share your passwords with trusted contacts. These can be people from your Family Sharing group or anyone from your Contacts list. To create a password sharing group:
Your group will have access to the usernames and passwords you add to the group. Anyone who is a part of the group can also add their own accounts and passwords to the group so that you and others can have access to them.
Pro Tip: Need to share different passwords with different people? You can also create multiple groups, instead of sticking to just one. All data in these shared groups are end-to-end encrypted, so you can rest assured that your passwords are safe.


