


While your iPhone performs a wide variety of tasks and functions, we’ve focused on the iPhone basics for those just getting started. You can learn how to set up your new iPhone, master common iPhone gestures, access (and customize!) your iPhone’s Control Center, and manage apps.
This method of transferring data to your new iPhone is the most thorough and the fastest, but only if you have a good strong internet connection. Restoring from an iCloud backup can make the new device feel almost exactly like the old one in less than an hour.
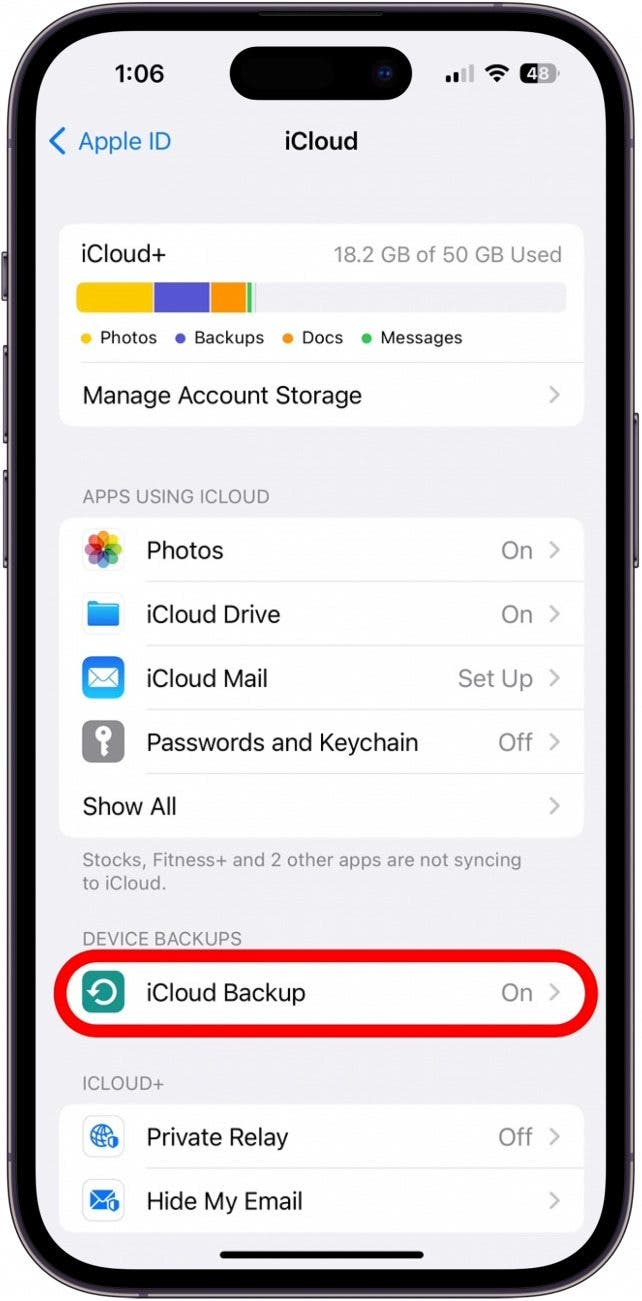
On your old iPhone, create a new iCloud Backup:
Wait for the backup to complete. Then, on your new iPhone:
Note: If you don’t have a recent iCloud backup of your previous device, check out these other methods to transfer your data to a new iPhone.
If you're making the switch from an Android device to the world of Apple, great job! We love our Apple devices, and we feel like you'll be happy with your decision. To help you along on your journey, Apple has created the free Move to iOS app, which you can download from the Google Play store. It will help you bring your contacts, texts, mail accounts, calendars, photos, videos, and bookmarks to your new iPhone, so you don't have to start from scratch.
Note: Books, music, and PDFs will need to be moved to your new device manually. Also, app and app data transfers are a bit tricky since Android and Apple have different app stores. Some of the apps on both the App Store and Google Play store will automatically transfer. If an app doesn’t transfer, you can re-download it (or a similar option) from the App Store.
To get started:
You’ve done it! Your data has been transferred to your new iPhone.
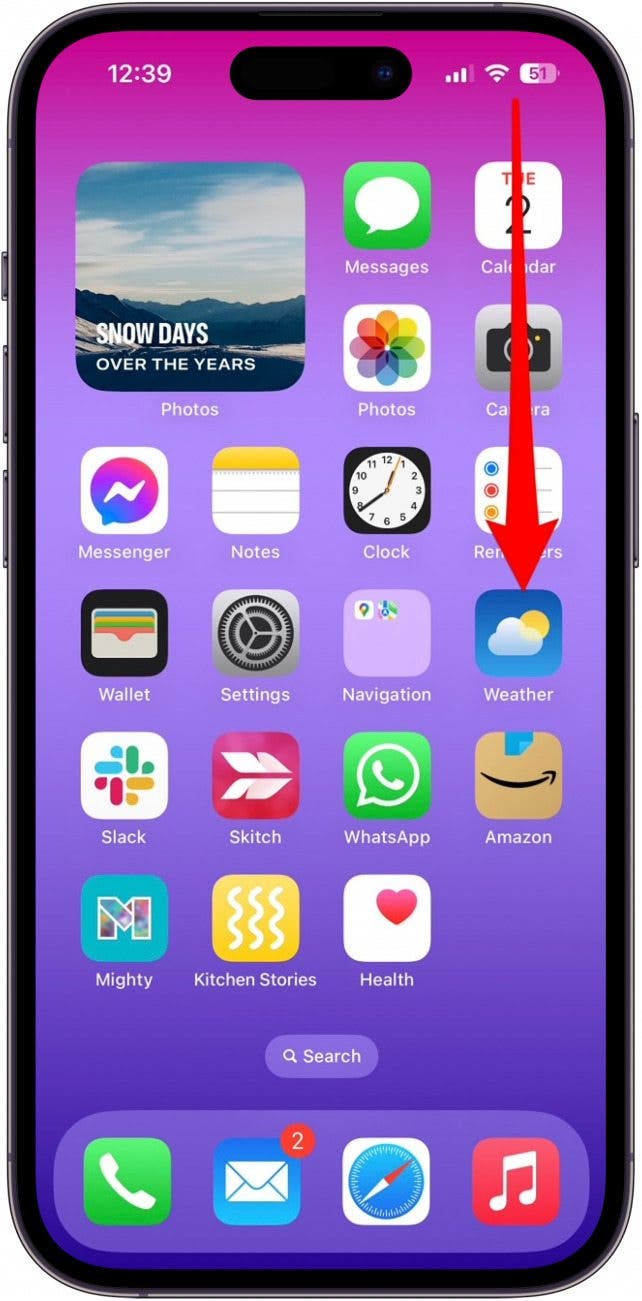
If you’re brand-new to your iPhone, we’ll cover some popular gestures you’ll use to interact with your iPhone’s touchscreen.
Going through the Settings app every time you need to make an adjustment to your screen's brightness or turn your Bluetooth on is just inconvenient. That's why we love Apple's Control Center, which provides quick access to standard tools, as well as shortcuts for features you use the most.
Let’s cover the Control Center's core functions.
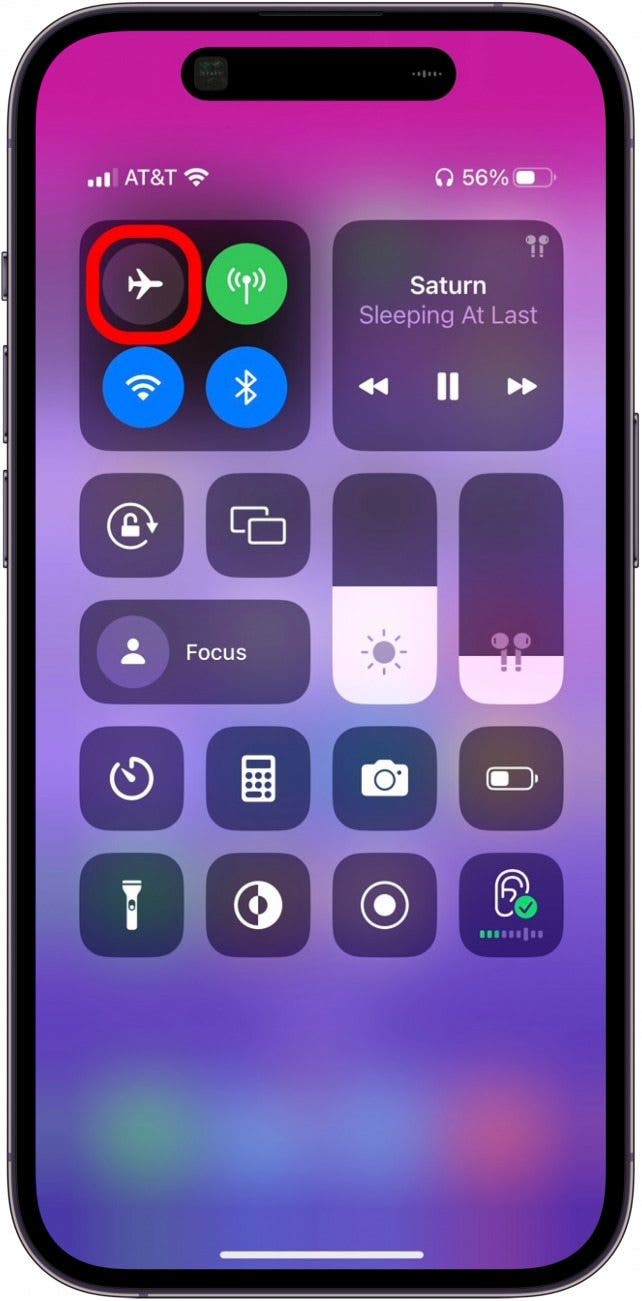
Airplane Mode
When you turn on Airplane Mode, all mobile connectivity is cut off. That means you won't be using any mobile data—no texts, calls, or internet use allowed in this mode (unless you’re connected to a Wi-Fi network). Bluetooth connectivity will still work too, allowing you to connect your wireless earbuds and headphones with Airplane Mode enabled.
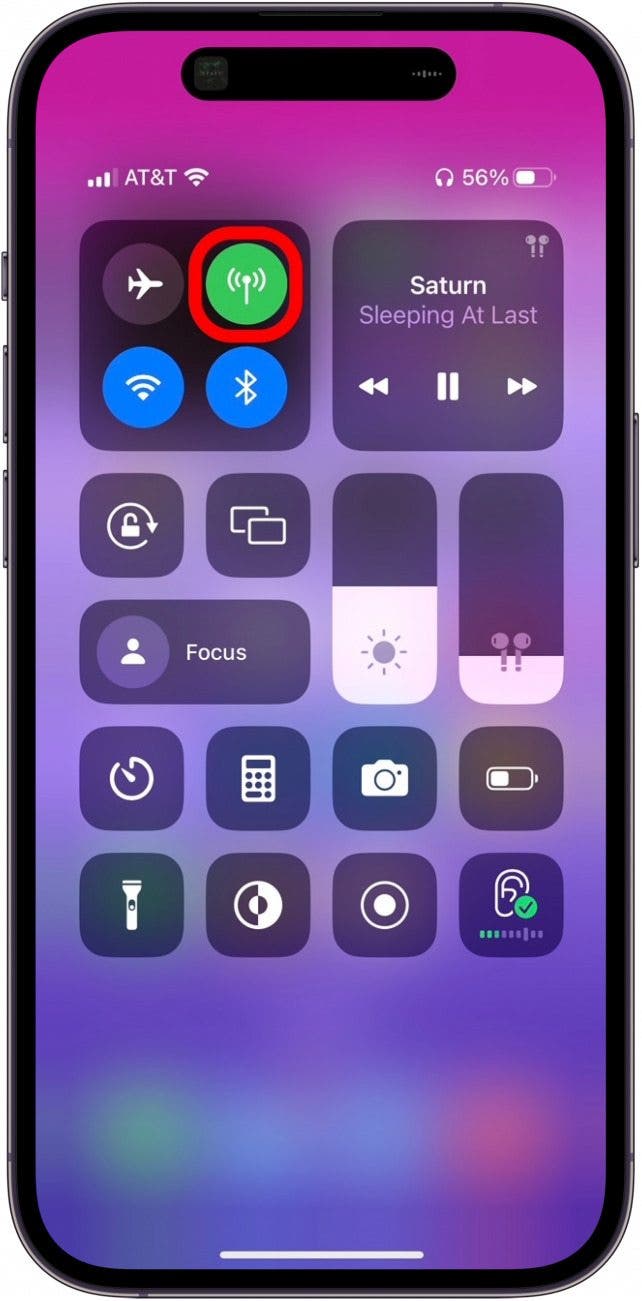
Mobile Data
When you tap this icon, you disable your device's cellular data connection. This is useful if you are traveling and don't want to accidentally use too much data.
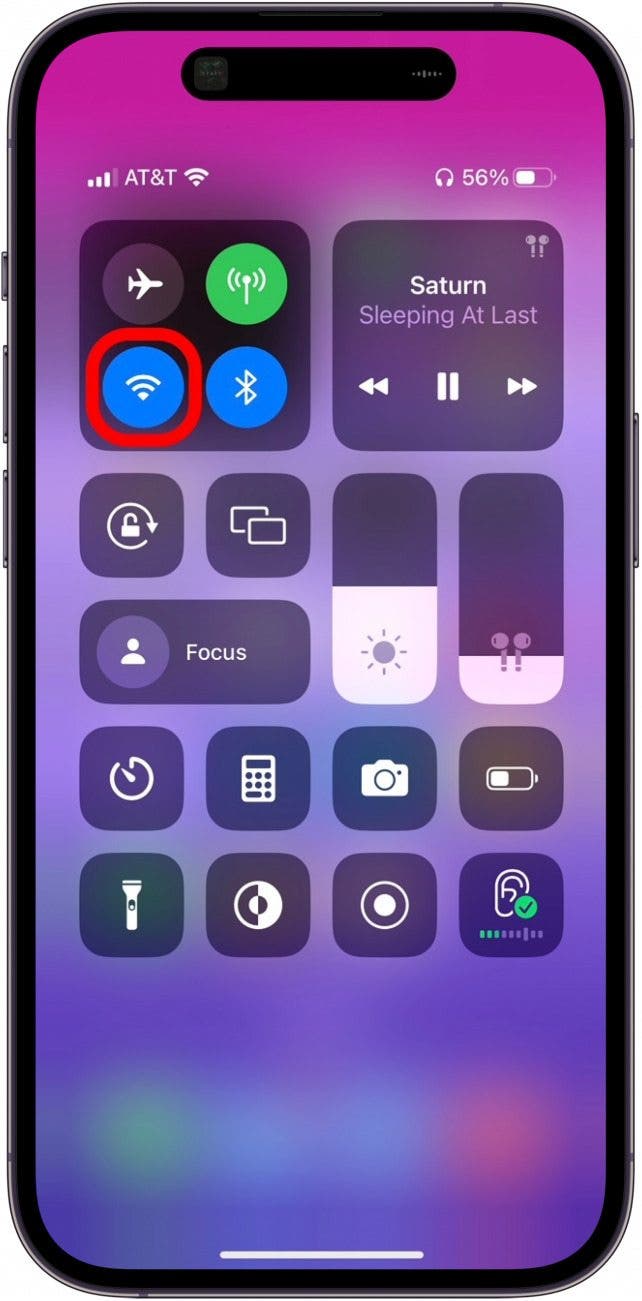
Wi-Fi
When you tap the Wi-Fi icon, you temporarily connect or disconnect from your Wi-Fi network. If you want to connect to a Wi-Fi network for the first time, you’ll need to go to settings first.
Pro Tip: If you’ve already connected to a network, you can long press the Wi-Fi icon in your Control Center to quickly switch networks or tap Wi-Fi Settings to add or remove a network in the Settings app.
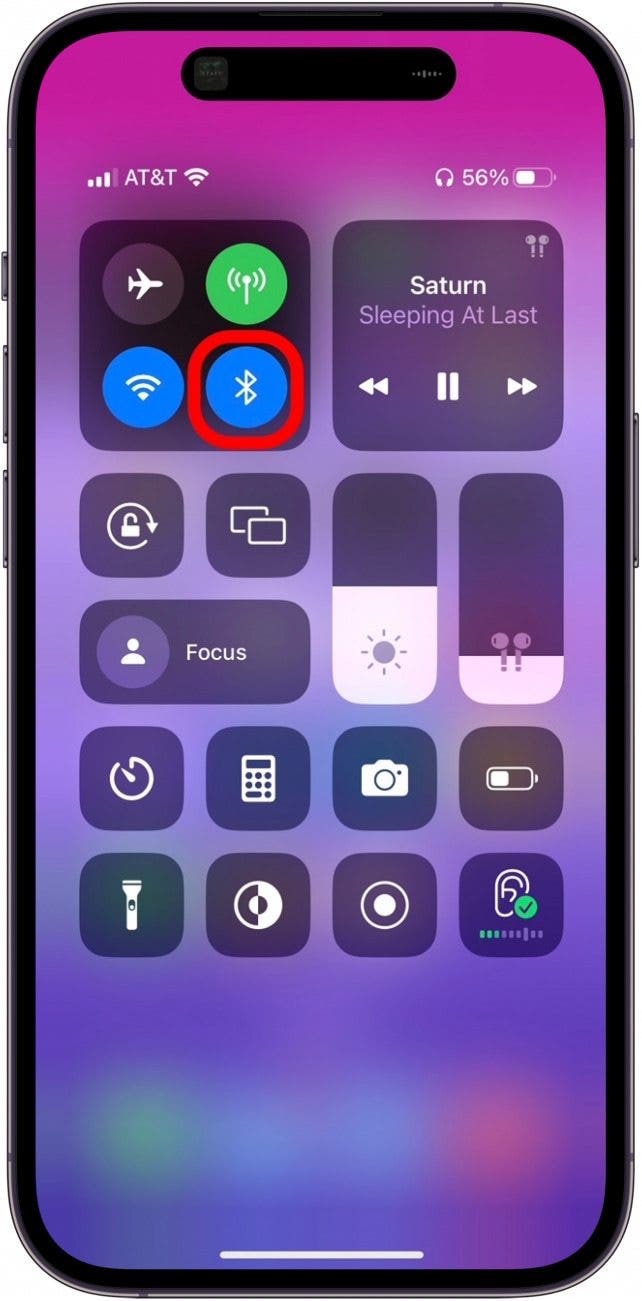
Bluetooth
Bluetooth allows you to connect your iPhone to Bluetooth-compatible devices. The first time you connect a device to your iPhone using Bluetooth, you'll need to do so from the Settings app. But once your device has been paired, you can long press the Bluetooth icon in the Control Center to quickly connect to your Bluetooth device.
Now Playing
The Now Playing card in the Control Center allows you to easily skip or pause songs without having to open your music app. If you long press the Now Playing section, you'll see more options. You can adjust volume, jump to another point in the song, or tap on the song itself to open it within the app it's playing from.
Orientation Lock
When you tap this icon, you turn Orientation Lock off or on. When Orientation Lock is on, that means your iPhone stays in Portrait mode, even when you turn your phone sideways. When Orientation Lock is off, then you can watch videos in Landscape mode by turning your phone sideways.
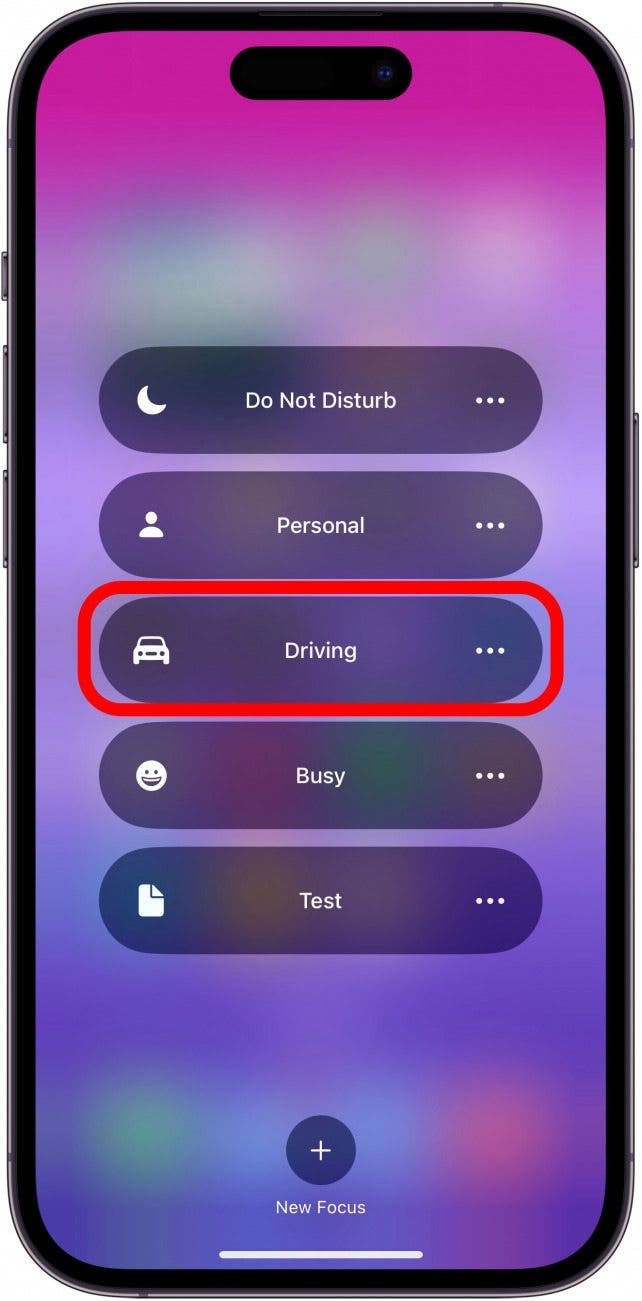
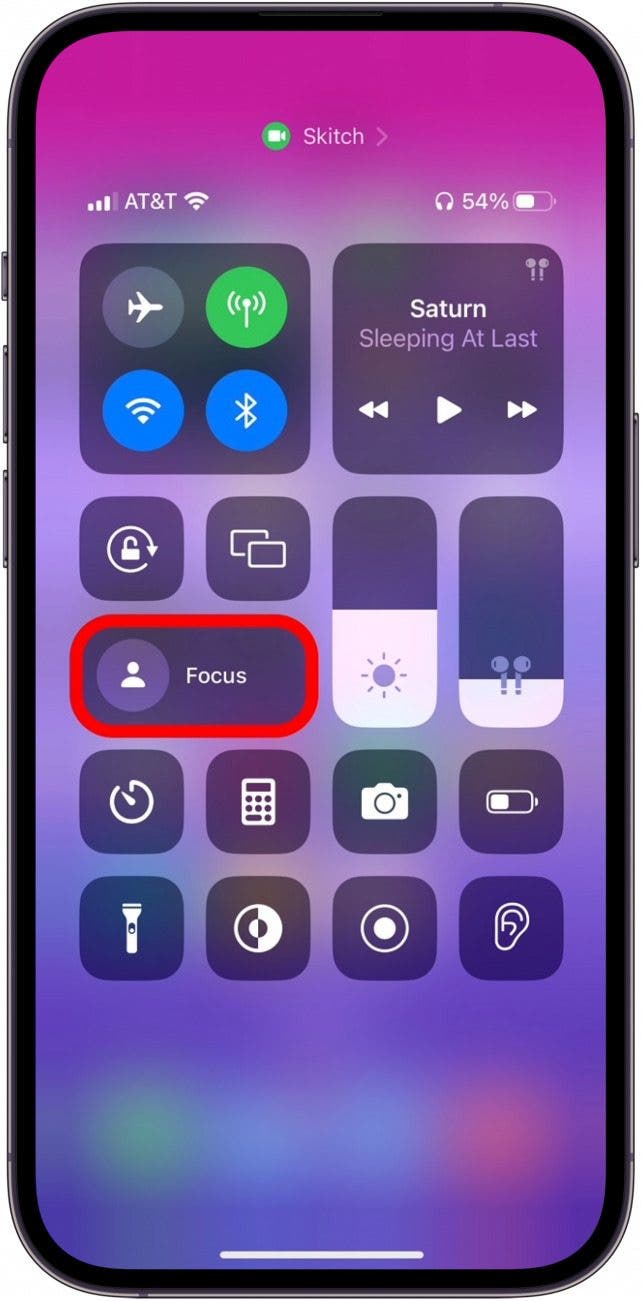
Focus Mode
Tap the moon icon to enable/disable Do Not Disturb mode. When Do Not Disturb is enabled, then all calls, texts, and notifications will still come through, but you won't hear them or see them on your screen. This is super convenient when you're trying to get some sleep or just need a break from your phone, and you don't want your screen lighting up and tempting you with notifications.
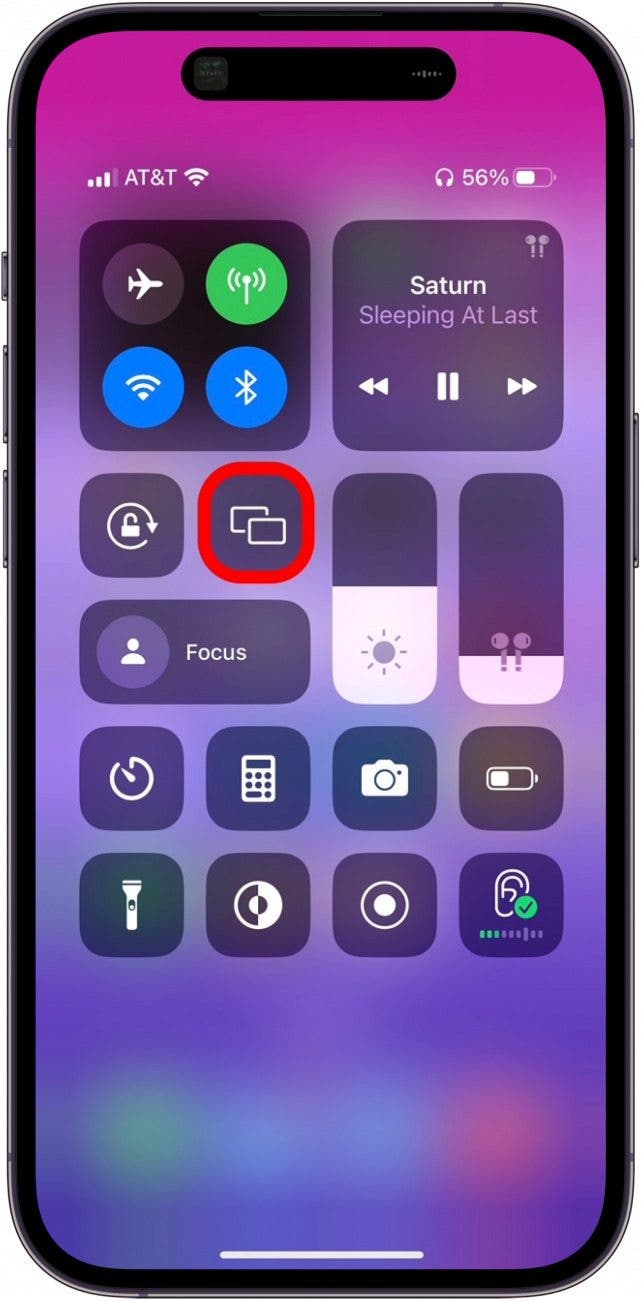
Screen Mirroring
Want to share a funny video you have on your phone on the big screen of your Apple TV? That's where this feature comes in. It's much more effective than having a group try to crowd around your tiny iPhone screen. When you tap screen Mirroring from Control Center, you should see any devices listed that this feature can work with. Just tap the device from the list that you want to mirror your iPhone screen to.
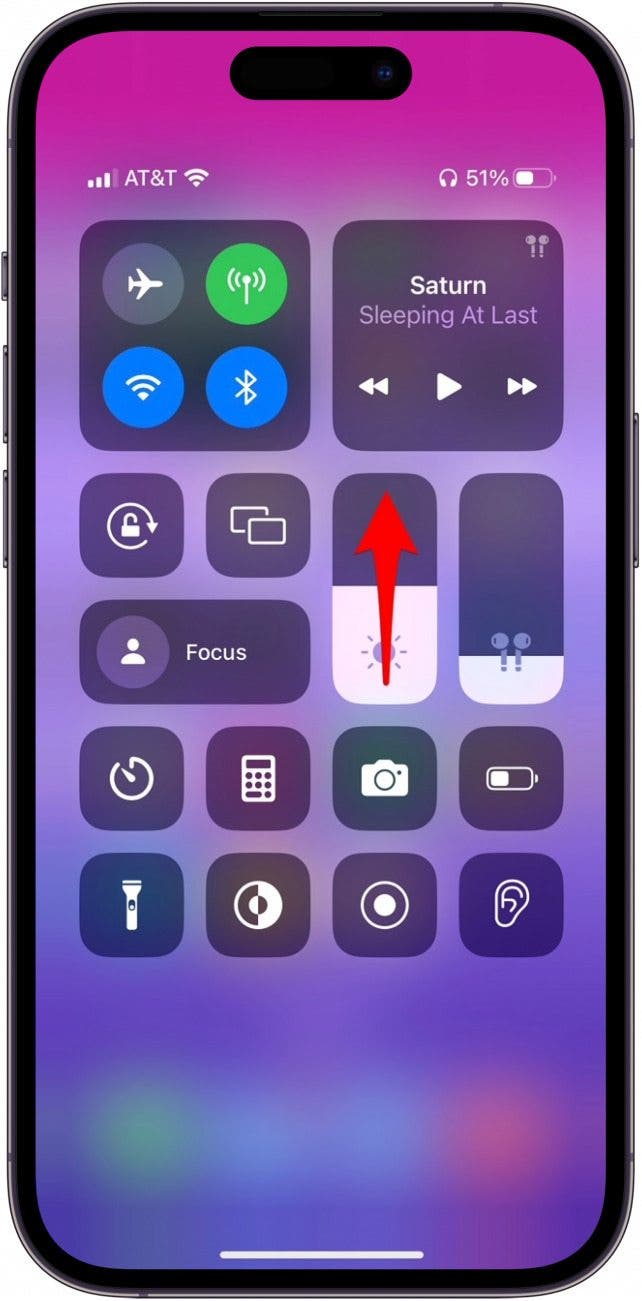
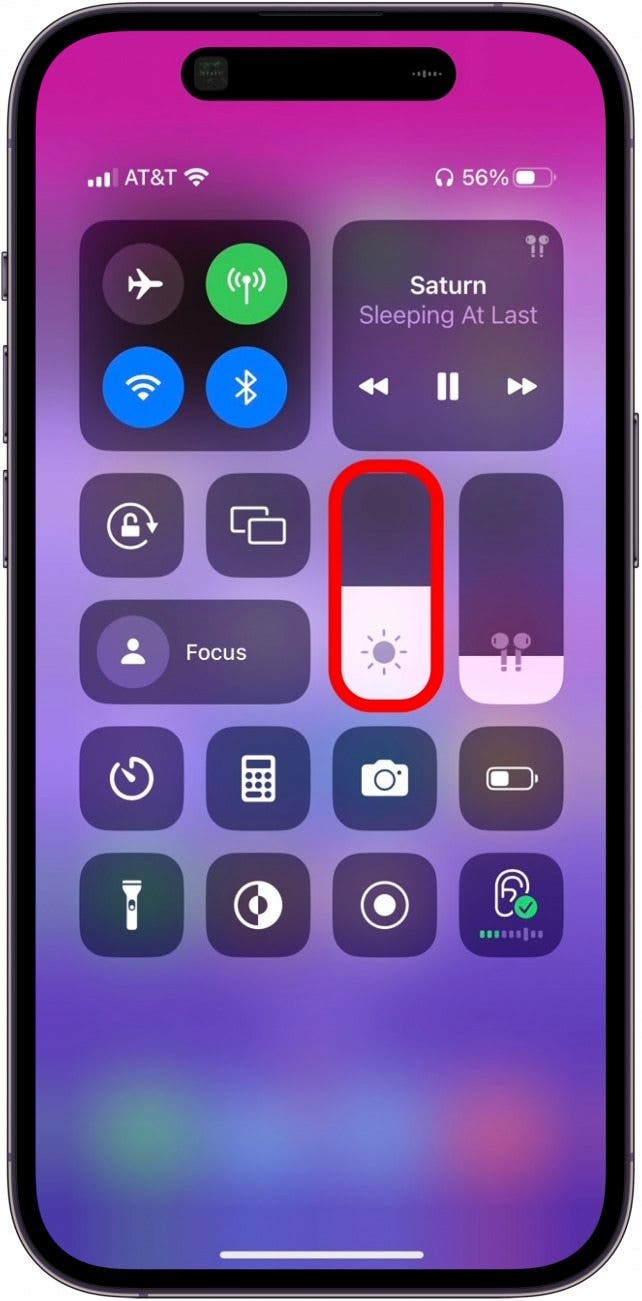
Brightness
When you slide your finger up or down the Brightness box, then you can (surprise!) adjust your screen's brightness. Swipe up to make your screen brighter and down to make it dimmer.
Pro Tip: You can press and hold the Brightness slider to see other screen display options, such as Night Shift, which slowly fades your iPhone's display colors to reduce the blue from the screen.
Volume
There's also a box for adjusting the volume of media playback. Swipe up on the slider to bring the volume up and down to bring the volume down.
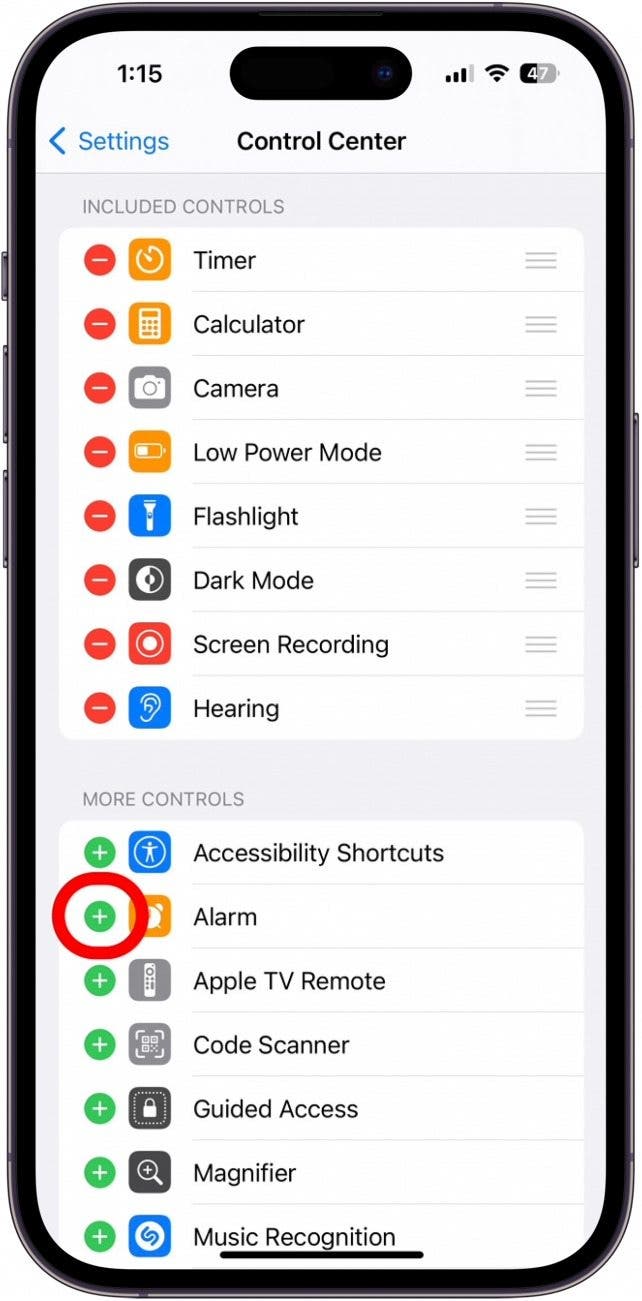
Customizing the Control Center
One of the best parts of the Control Center is the ability to add shortcuts to the tools you use the most! To customize the Control Center:
Now when you open the Control Center, you'll see all the controls you've added!
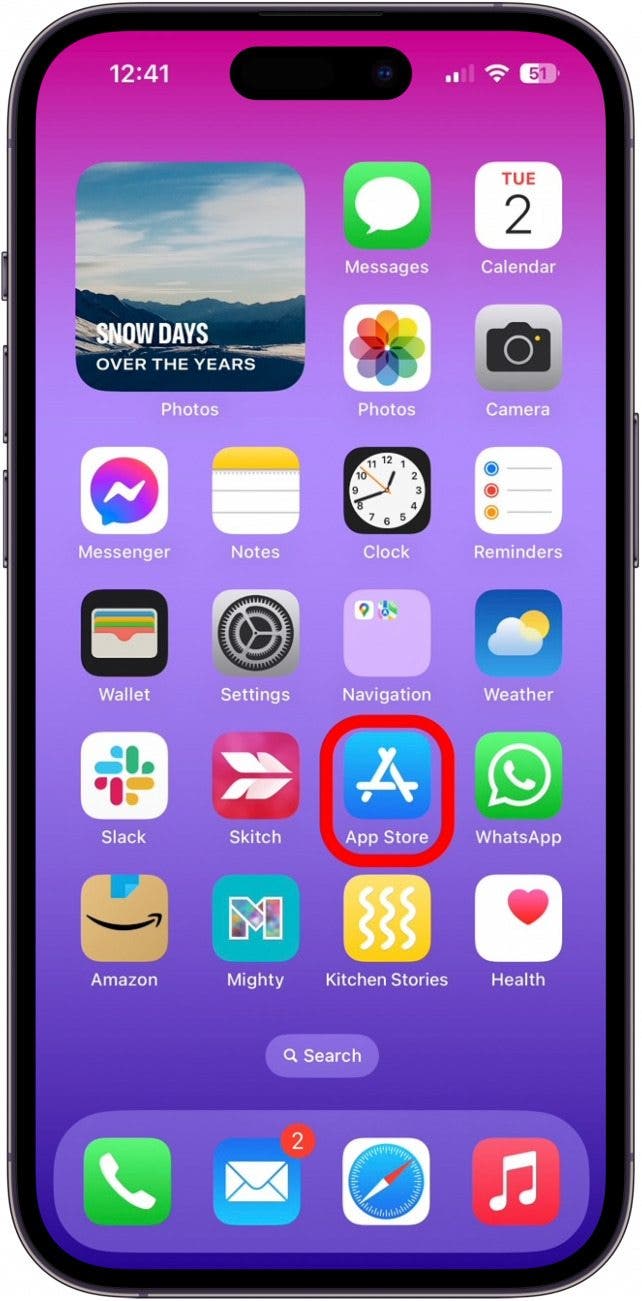
Apps are software, and like an automobile, they require maintenance. Updating your apps is a small but important maintenance task to make sure your apps have the latest bug fixes and features. To update your apps:
If all your apps are up to date, you’ll only see the section for Updated Recently.
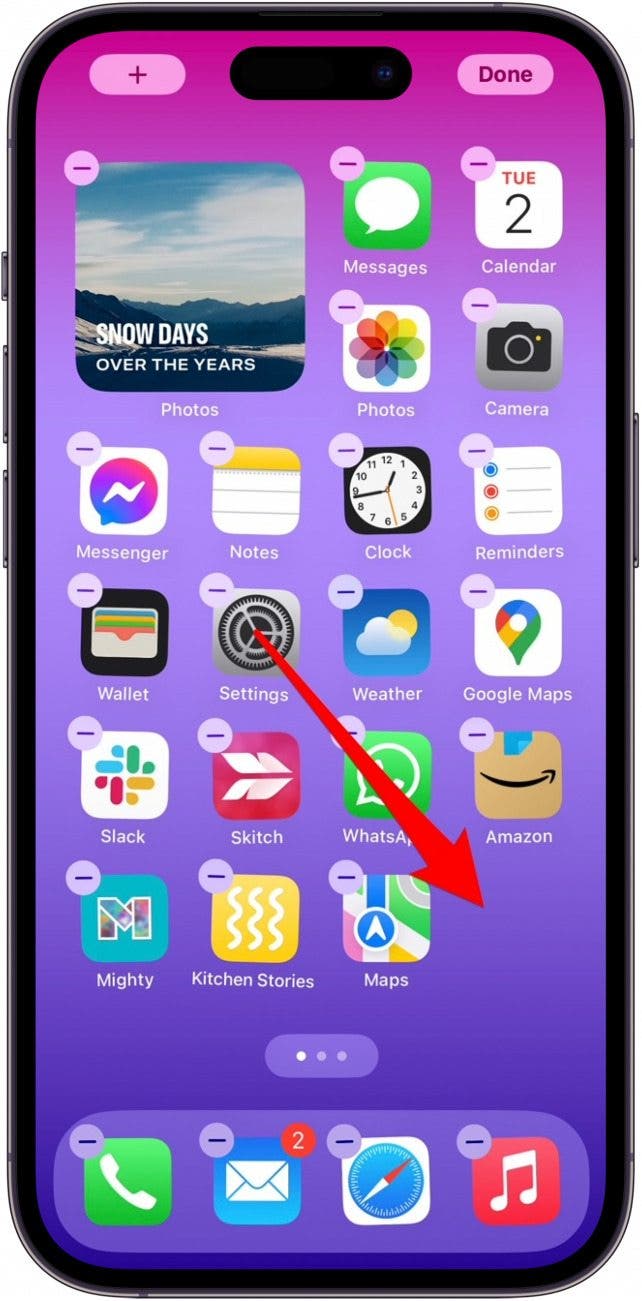
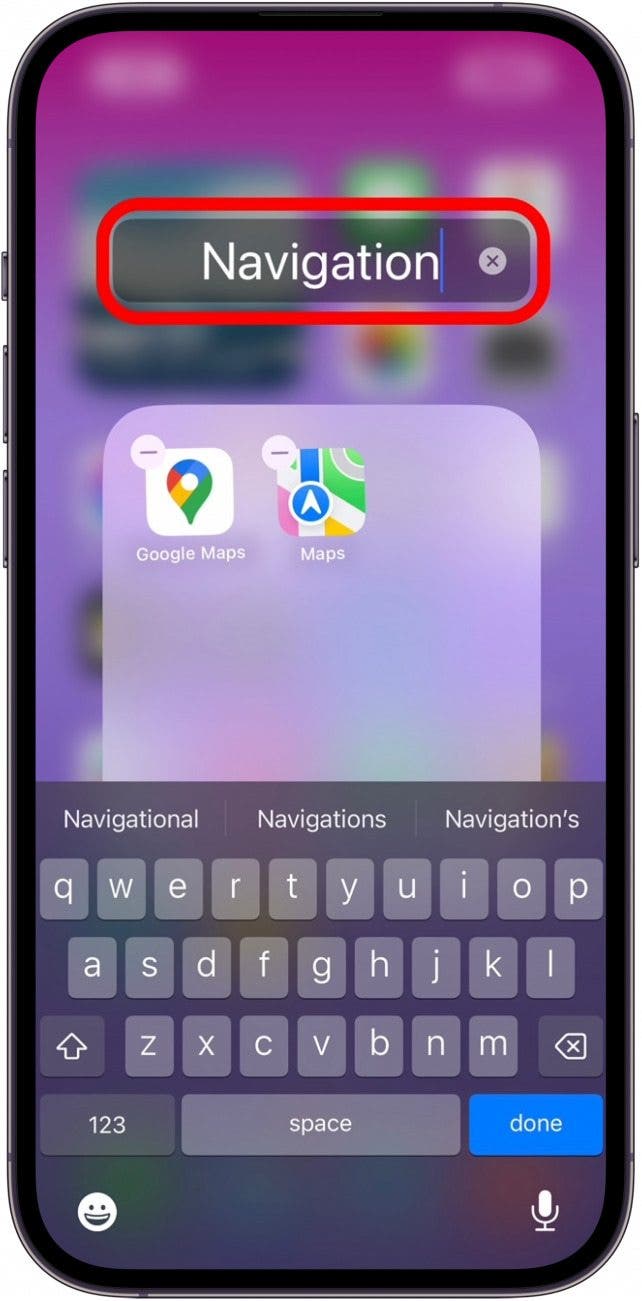
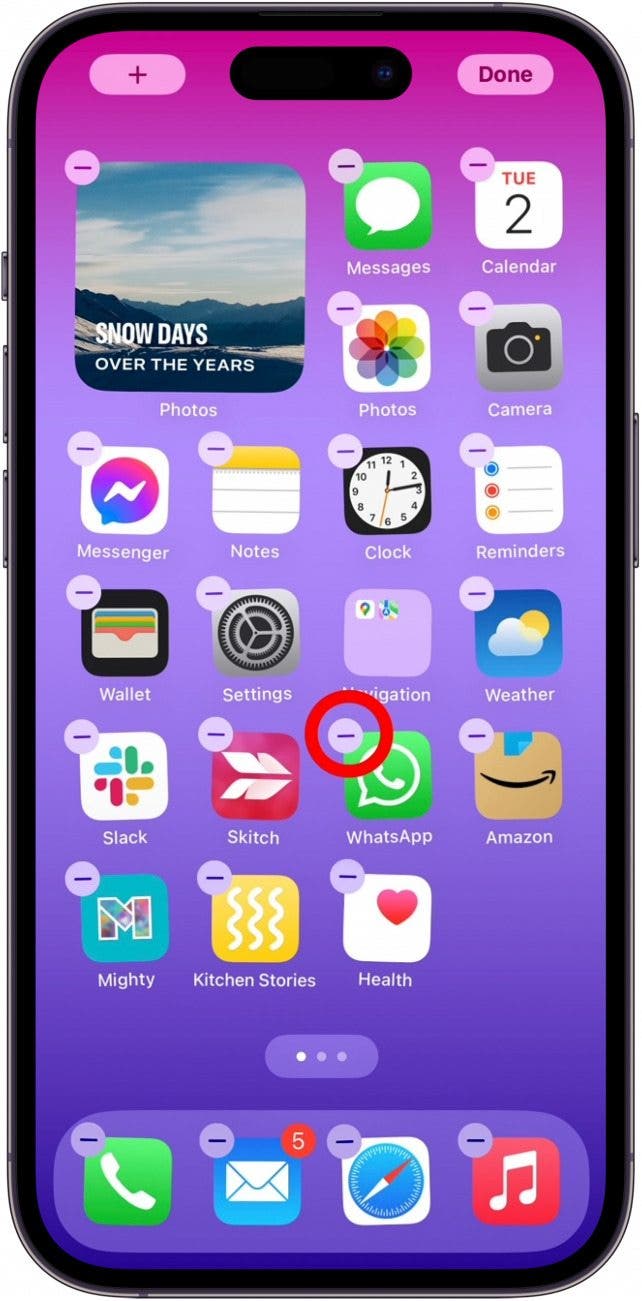
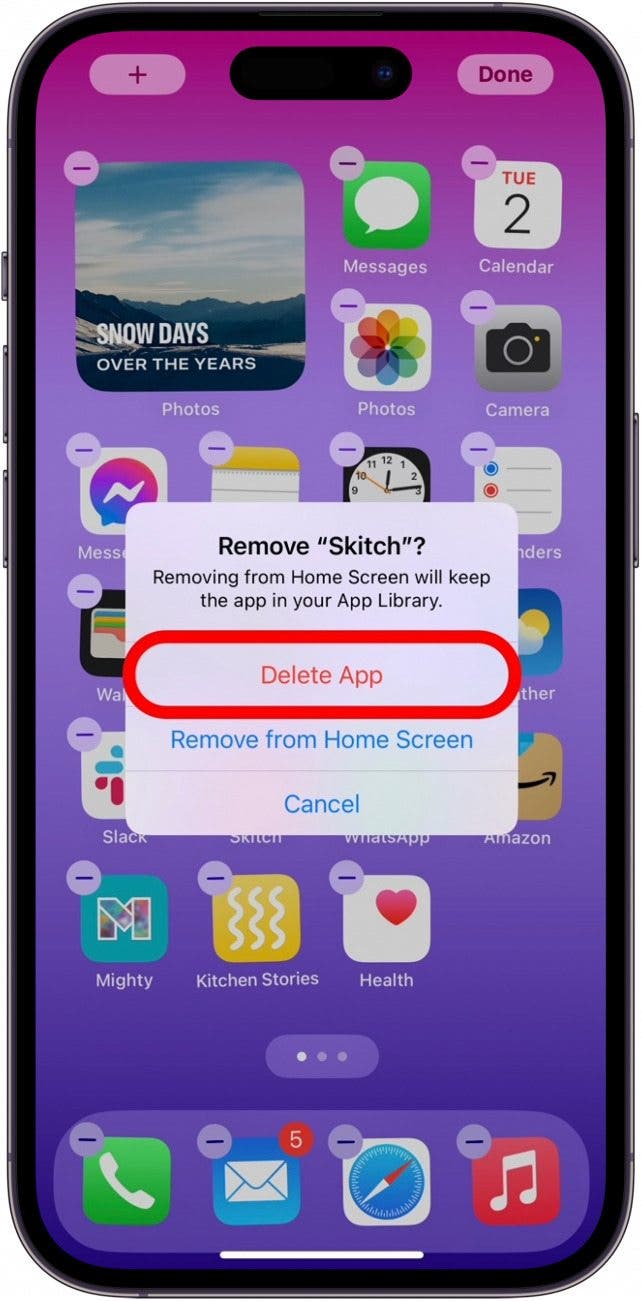
Your Home Screen is like a sand box where you can reorganize and arrange things just how you like. I like to keep only the apps I use daily on my Home Screen, and the rest in my App Library, but you can choose whatever makes sense to you. To reorganize apps:
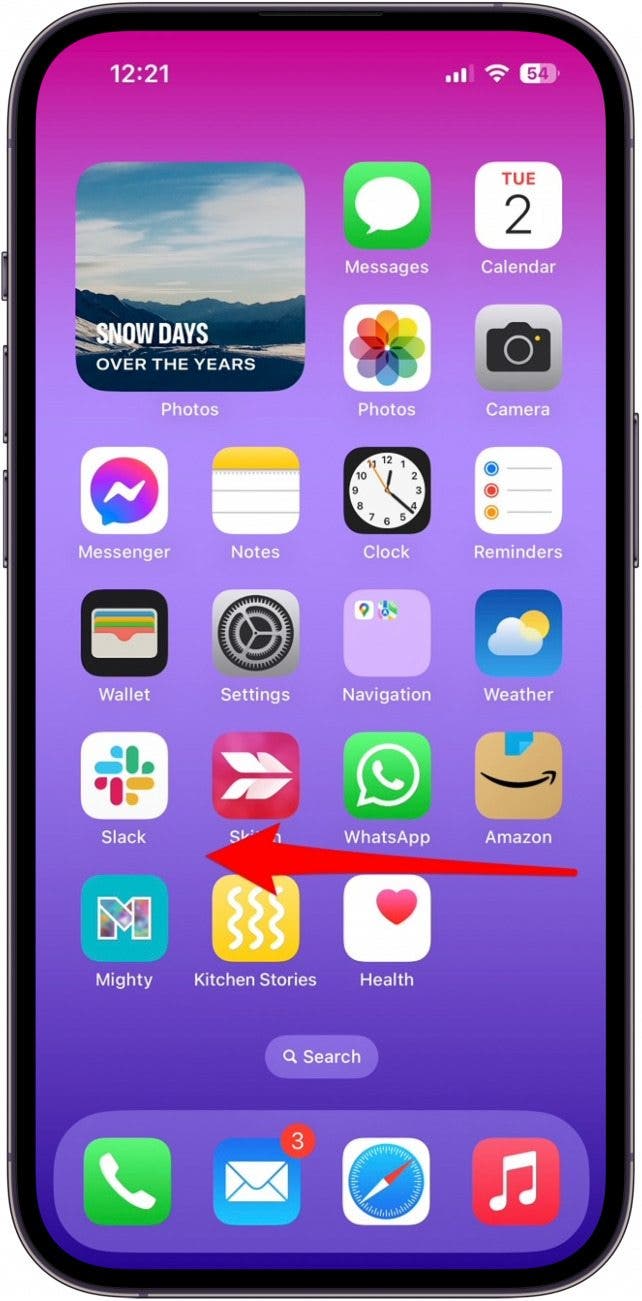
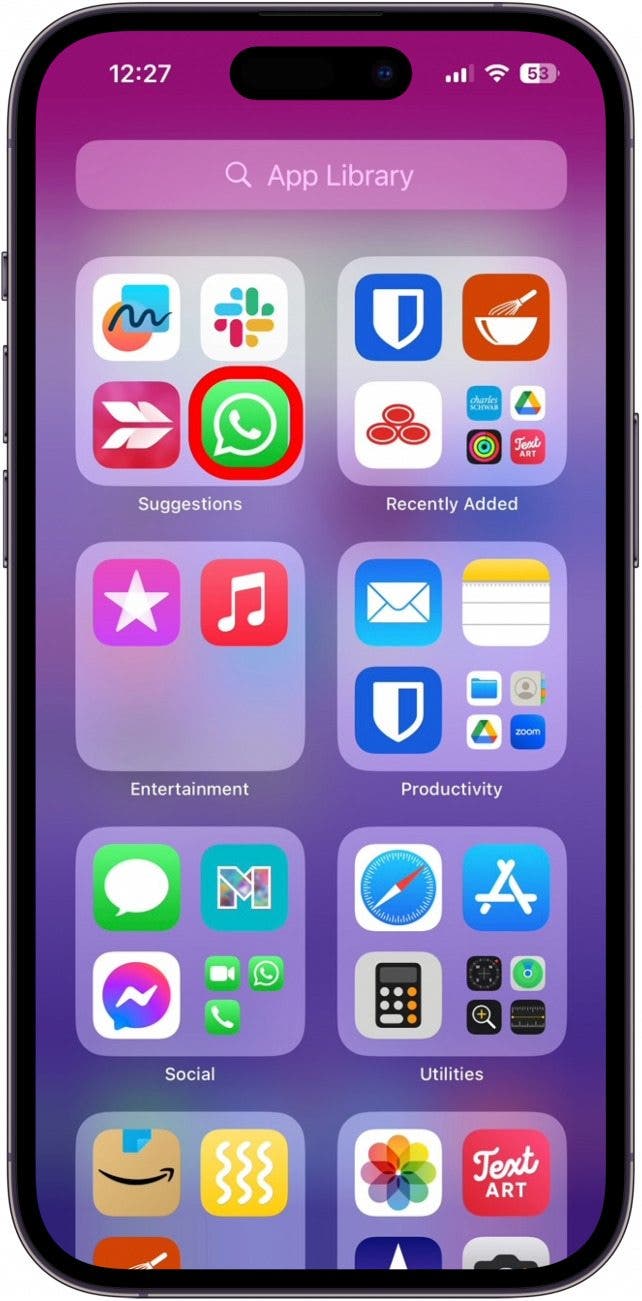
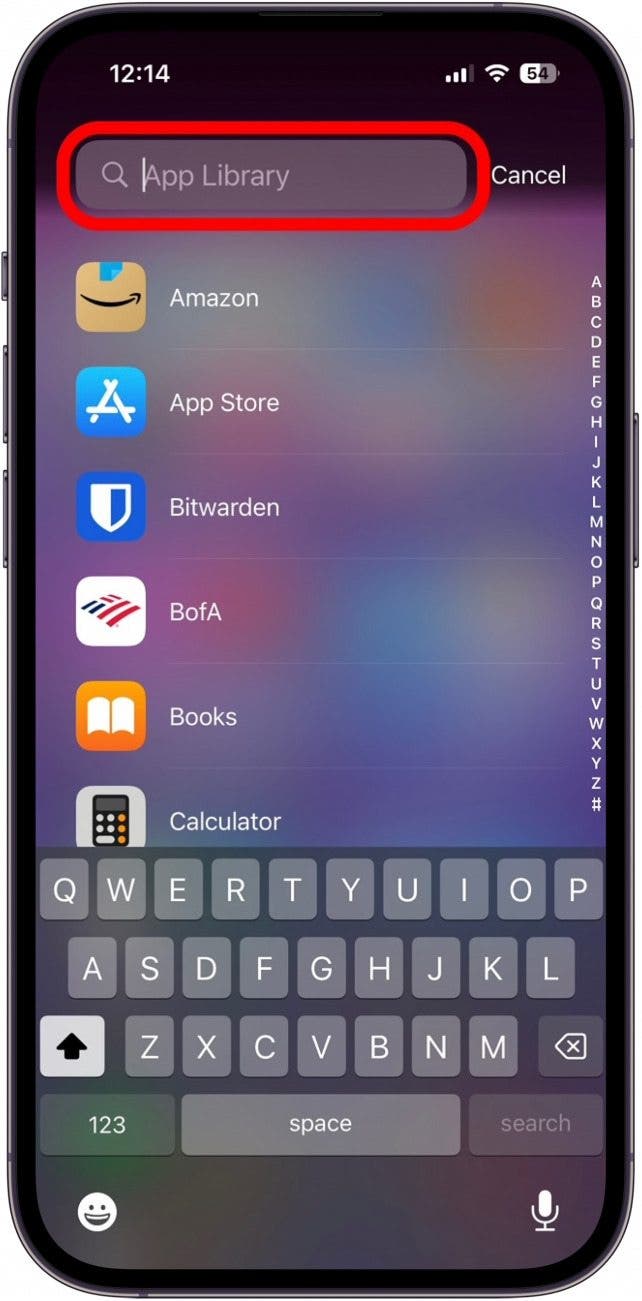
As you swipe left and right to look at the different pages of your app icons on your Home Screen, you might notice that the last page to the right is different. This is your App Library, a place to find all the apps you've got installed on your iPhone, even if their icons aren't on your Home Screen. To access and search your App Library:


